Ever tossed a banana peel into the trash and wondered, “Could this do more than just rot in a landfill?” Spoiler: It absolutely can. Composting is like nature’s recycling program, turning your kitchen scraps and yard waste into nutrient-rich gold for your garden. But starting a compost pile can feel intimidating—do you need a fancy bin? Will it smell? What even is “brown material”?
Don’t overthink it. Let’s break down composting into simple, actionable steps. By the end of this guide, you’ll turn avocado pits and fallen leaves into rich soil, and your plants will throw a party.
Why Compost? Let’s Talk Dirty
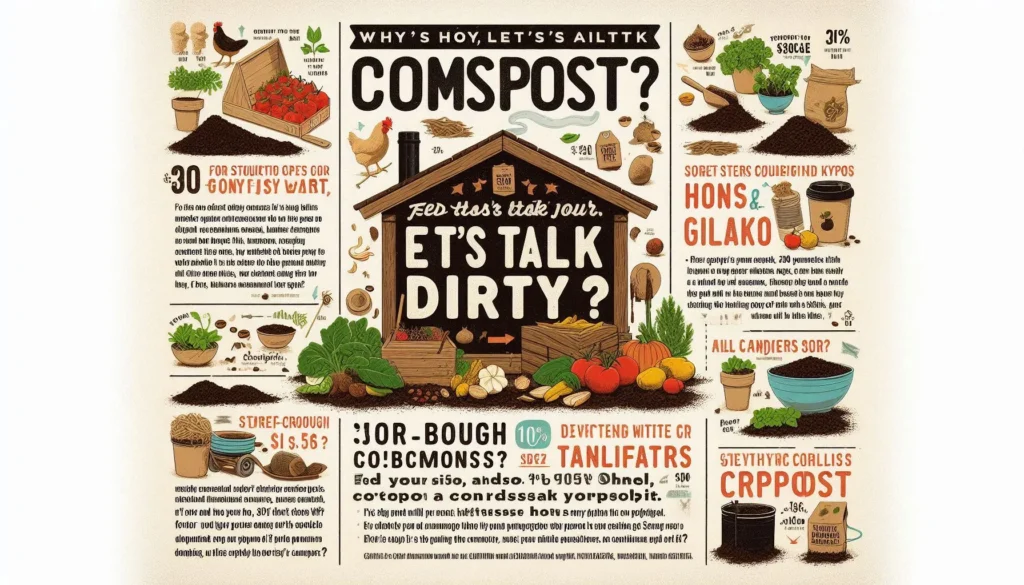
Before we dig into the how, let’s chat about the why. Composting isn’t just for crunchy granola types or homesteaders with chickens. It’s a game-changer for anyone with a patio herb garden or a backyard tomato patch. Here’s why:
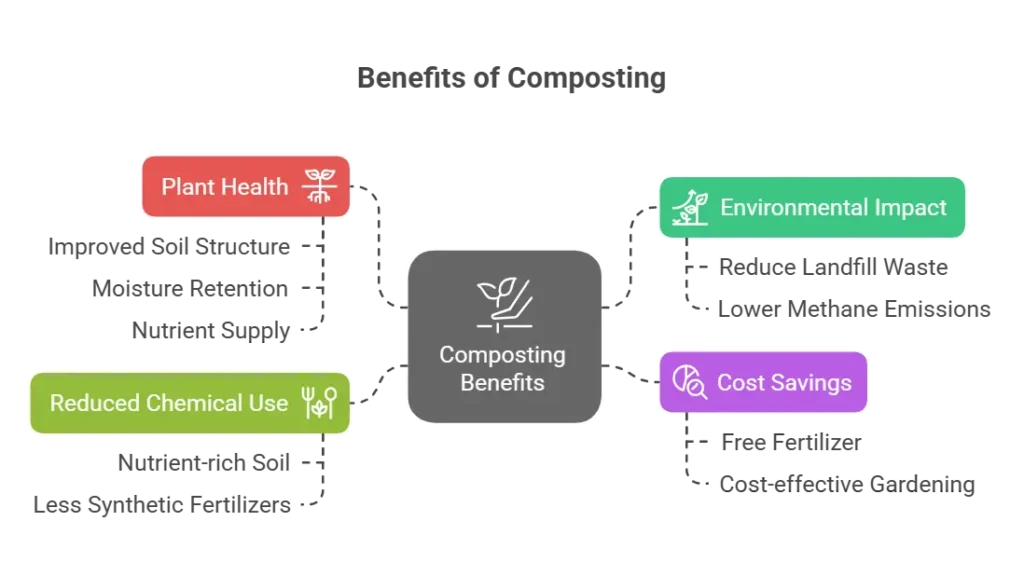
- Feed your soil, not landfills: 30% of household waste is compostable. Diverting scraps reduces methane emissions and landfill overload.
- Free fertilizer: Store-bought compost costs $$. Yours costs coffee grounds and dead leaves.
- Healthier plants: Compost improves soil structure, retains moisture, and delivers a slow-release buffet of nutrients.
- Fewer chemicals: Nutrient-rich soil means less need for synthetic fertilizers.
But (and there’s always a “but”), composting isn’t all sunshine and rainbows. Let’s get real about the pros and cons later. First, the fun part—building your pile!
Step 1: Location, Location, Decomposition
Your compost pile needs a VIP spot. Think of it like real estate: dry, shady, and convenient.
- Dry and shady: Direct sun dries out the pile; too much rain turns it into a swamp. A spot under a tree or beside a shed works.
- Accessible: You’ll visit often to add scraps or turn the pile. No trekking to Narnia.
- Near water: A hose or watering can nearby make moisture management easier (LawnStarter).
Pro tip: Skip the fancy bin at first. A simple heap or DIY pallet structure works.
Step 2: Lay the Groundwork (Literally)
Start with a bare soil base—no concrete or patio stones. Why? Worms and microorganisms need access to work their magic.
- Clear the area: Remove grass or weeds.
- Add a “brown” base layer: Twigs, straw, or small branches. This boosts airflow and drainage.
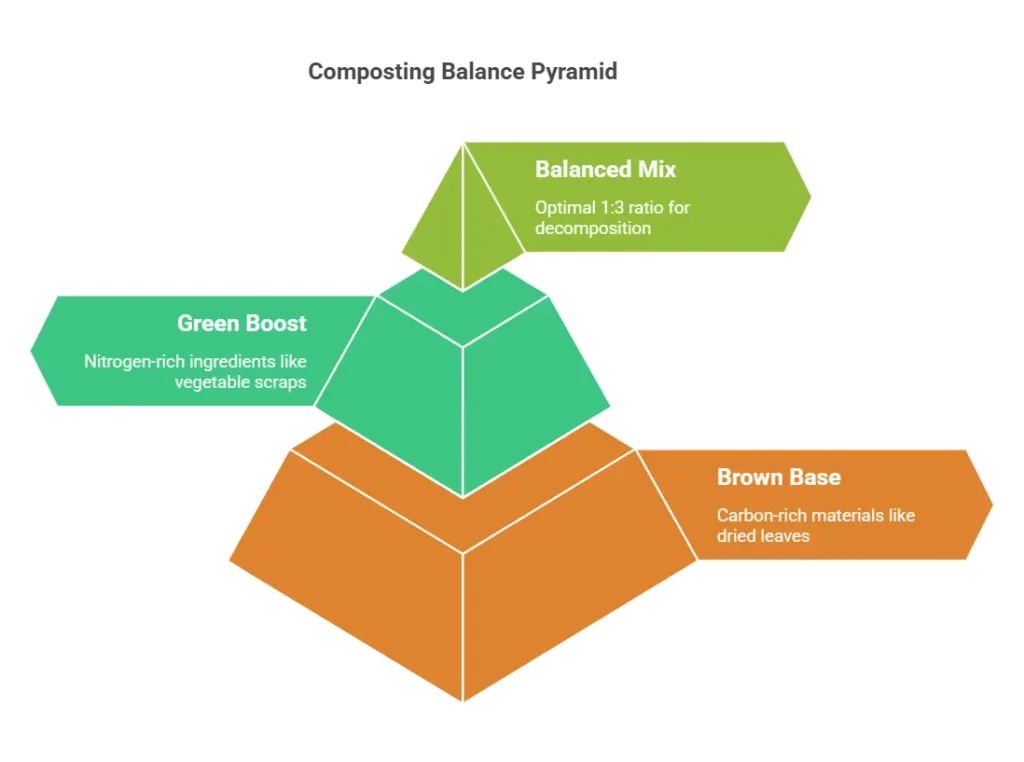
Step 3: The Balancing Act – Green vs. Brown
Composting hinges on balancing two ingredients: green materials (nitrogen-rich) and brown materials (carbon-rich). Get this ratio wrong, and your pile might reek or take years to decompose.
| Green Materials (Nitrogen) | Brown Materials (Carbon) |
|---|---|
| Vegetable scraps | Dried leaves |
| Coffee grounds + filters | Cardboard (shredded) |
| Fresh grass clippings | Straw or hay |
| Fruit peels (no citrus) | Twigs + branches |
Aim for a 1:3 ratio (1 part green to 3 parts brown). Too much green? It’ll smell like a dumpster. Too much brown? Decomposition slows to a crawl (EarthEasy).
Layer like lasagna: Start with browns, add greens, and repeat. Keep layers 4–8 inches thick.
Step 4: The Magic of Moisture
Your pile should feel like a damp sponge—not soggy, not Sahara-dry.
- Too wet? Add browns and turn the pile.
- Too dry? Sprinkle water while turning.
Rain helps, but don’t rely on it. Check weekly, especially in summer (All That Grows).
Step 5: Let It Breathe – The Role of Aeration
Microorganisms need oxygen to thrive. Without aeration, your pile goes anaerobic (translation: stinky and slimy).
- Turn the pile every 2–3 weeks with a pitchfork.
- No time to turn? Poke holes with a stick or use a tumbler bin.
The more you aerate, the faster you’ll get compost (Homesteading Family).
Step 6: Microorganisms – The Unsung Heroes
These tiny workers (bacteria, fungi, worms) break down your scraps. Keep them happy with:
- Balanced greens/browns
- Moisture
- Oxygen

Add a shovel of garden soil to introduce native microbes.
Step 7: Monitoring Decomposition
A healthy pile heats up to 130–160°F (perfect for killing weed seeds). Use a compost thermometer or stick your hand in—it should feel warm.
Timeline:
- 2–3 weeks: Core heats up.
- 2–6 months: Fully broken down.
Speed things up by chopping scraps small and turning often (Roots & Refuge).
Step 8: Harvesting Your Nutrient-Rich Gold
Finished compost is dark, crumbly, and earthy-smelling. Sieve out chunks and mix it into garden beds, pots, or sprinkle on lawns.
The Good, The Bad, and The Compost
Pros:
- Reduces household waste
- Cuts gardening costs
- Boosts soil health long-term
Cons:
- Requires patience (no instant results)
- Can attract pests if not managed
- Needs space and effort
Composting vs. Buying:
| Factor | DIY Compost | Store-Bought Compost |
|---|---|---|
| Cost | Free | $10–$30 per bag |
| Quality Control | You manage inputs | Varies by brand |
| Environmental Impact | Zero packaging waste | Plastic bags common |
| Time Investment | 2–6 months | Instant |
Troubleshooting Your Pile
- Smells like rot: Too many greens. Add browns and aerate.
- Not heating up: Needs more greens or water.
- Fruit flies? Bury food scraps under browns.
Final Thoughts: Start Small, Think Big

You don’t need a PhD in soil science to compost. Start with a countertop bin for scraps, add them to your pile weekly, and let time + nature handle the rest. Even a lazy composter (no shame!) will create nutrient-rich soil eventually.
Your plants—and the planet—will thank you. Now, go rescue those carrot tops from the trash. 🌱